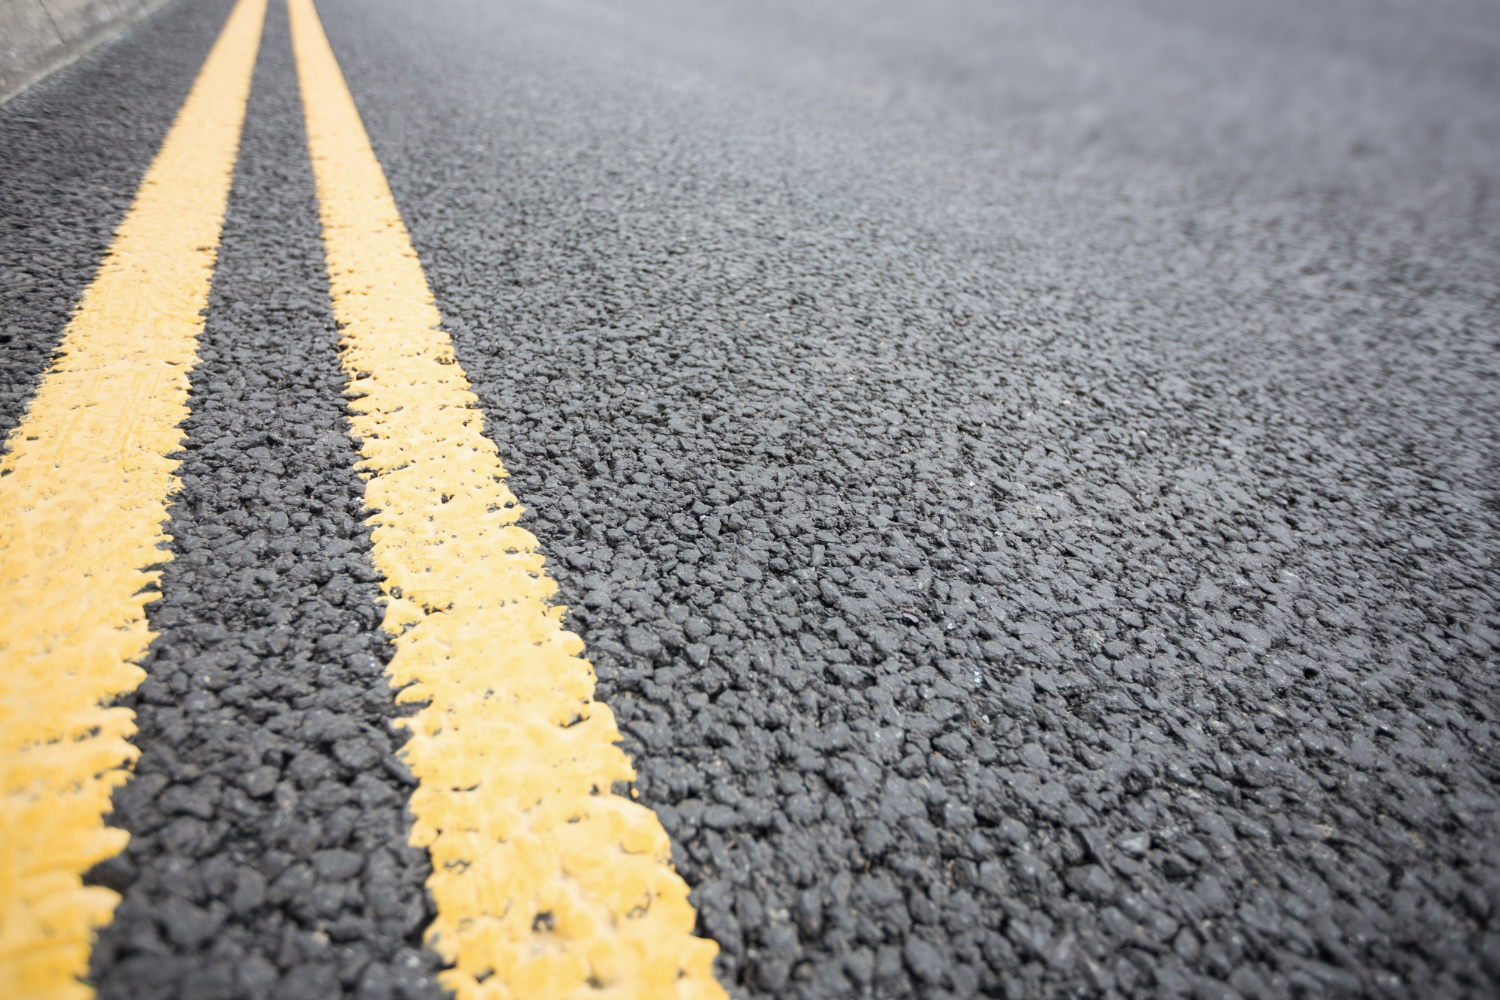
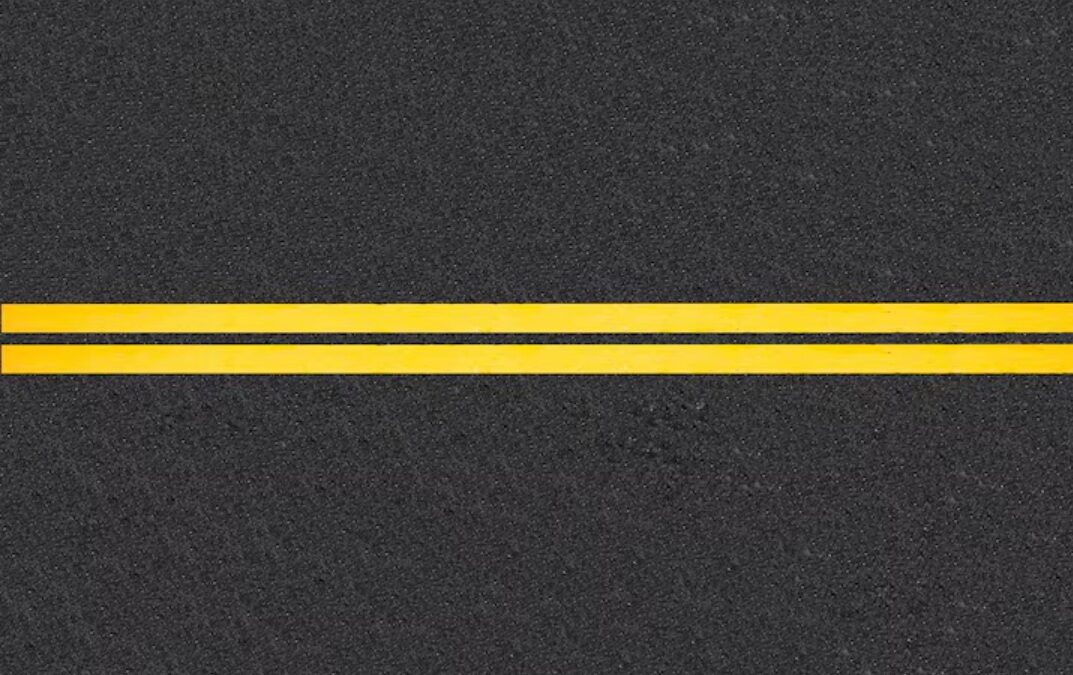
Line marking is more than just laying down paint. Clear, even lines on roadways and parking lots guide drivers, improve safety, and make spaces look clean and well-organized. When those lines are sharp and well-placed, they do their job without confusion. But even a small mistake like a paint drip or overspray can make a big difference, both in how effective the markings are and how good they look.
Drips and overspray don’t just look messy. They can blur lane edges, throw off measurements, or even add costs by requiring extra cleanup or repainting. These problems pop up more often when the wrong tools are used or when crews run into issues with weather or setup. That’s where the right pavement marking equipment makes a difference. With the right setup and a careful approach, it’s possible to lay clean, accurate lines that stay sharp over time.
Causes Of Paint Drips And Overspray
Paint issues usually don’t happen by accident. Most of the time, it comes down to either bad equipment, tricky weather, or a simple mistake from the person using the sprayer. Understanding what causes these slip-ups can help stop them before they start.
Here are the most common causes:
– Improper equipment: Every marking job needs a tool that fits the space and type of paint used. Using a basic sprayer for a bigger job or one without a controlled nozzle can lead to puddling, uneven flow, or blown paint that drifts onto areas it wasn’t meant for.
– Environmental factors: Conditions outside can mess with the paint pattern. Wind can push paint off its path. Heat can dry paint too fast, while cold or humid weather can slow it down and lead to runs or sagging. Even the surface being painted can affect how paint sticks.
– Operator error: Most of the time, mistakes in paint jobs come from the person handling the controls. Moving too quickly, stopping mid-spray, or holding the nozzle too close or too far from the surface are all issues that can cause paint to gather, bleed, or feather out past the line.
A crew repainting a school zone might run into all three of these examples if they rush to finish before a storm rolls in. The wrong gun for the job, mixed paint behavior due to humidity, and a tired operator could leave the lines blotchy and splattered. Knowing what causes those issues helps avoid them on the next job and keeps lines crisp.
Choosing The Right Pavement Marking Equipment
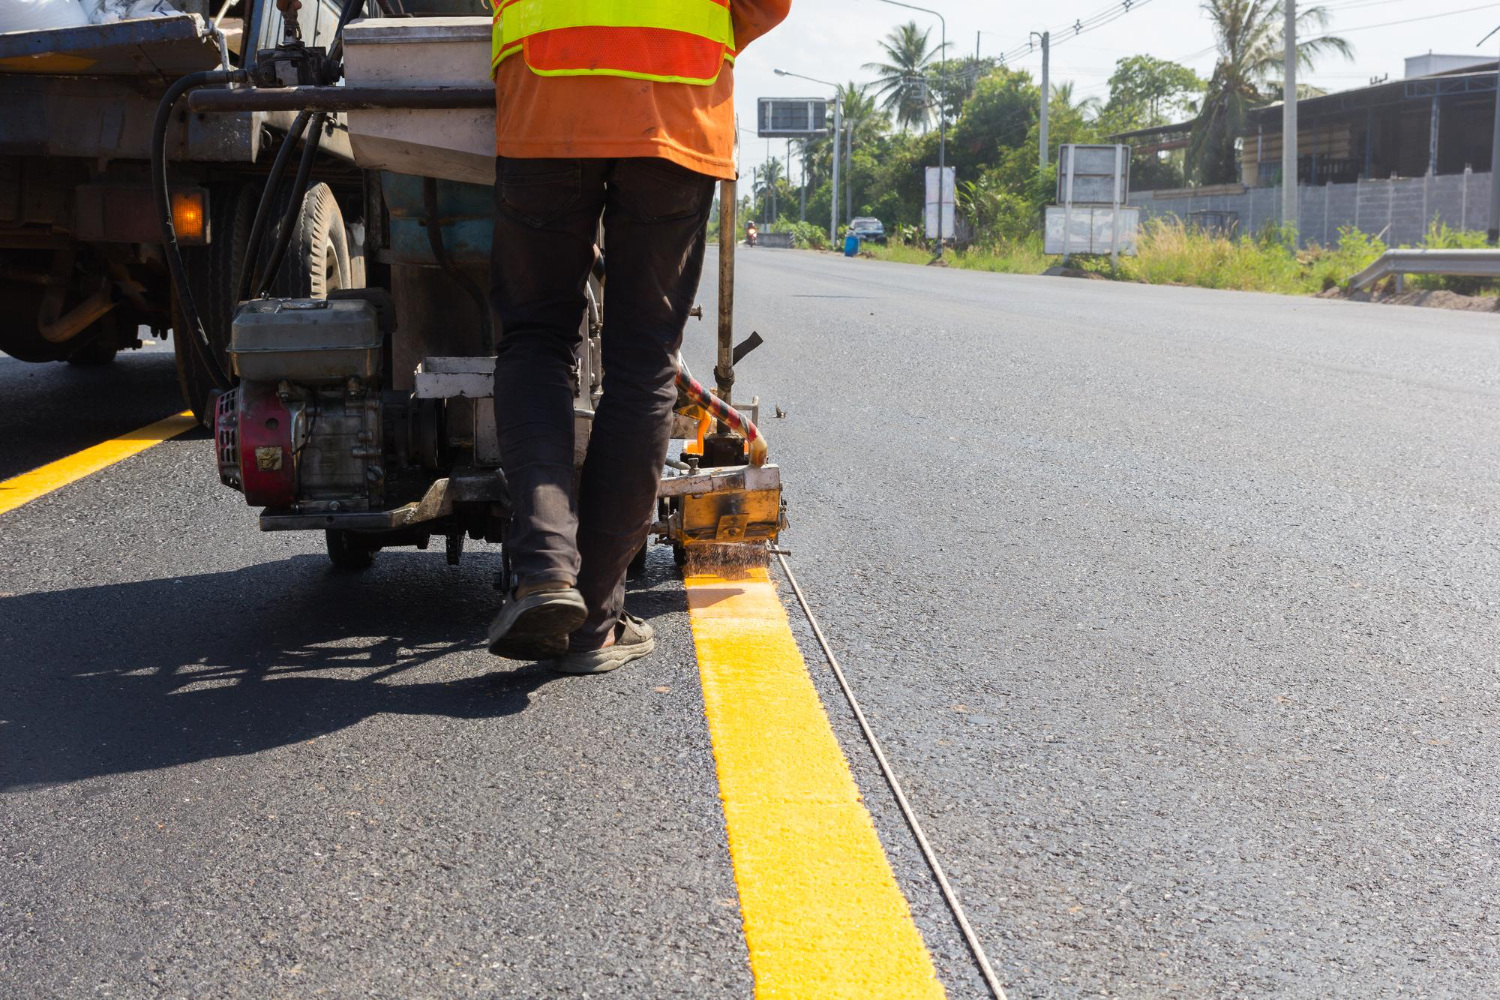
The tool matters almost as much as the technique. Not all line stripers and sprayers work the same way, and picking the wrong one can lead to wasted time and messy results. Matching equipment to the job and making sure it’s working right before starting helps keep lines clean and work efficient.
Types of equipment used for different marking needs include:
- Airless stripers – Apply consistent pressure without needing an air compressor. These are great for smooth, even lines and are commonly used for roads and parking lots.
- Compressed air sprayers – Offer more control but can create fine overspray in windy conditions. Often used in smaller areas or spots needing precise detail.
- Ride-on machines – Used for big commercial jobs or highways. These cover more ground faster but need trained operators to avoid line wobble or paint pooling.
Key features to look for include:
– Adjustable spray nozzle for better control of line width and pressure
– Steady paint flow controls to stop spurts or drops mid-pass
– Easy cleaning features to prevent clogs or residue buildups
– Wheels or guides that help keep lines straight without excess correction
To keep the equipment running right:
– Clear the nozzle after every use
– Store machines in a dry, temperature-controlled space
– Check hoses and seals regularly for cracks or leaks
– Test-run the machine before each job
Even the best operator can’t fix problems caused by faulty or poorly maintained pavement marking equipment. Choosing the right tools and keeping them in shape before every job is one of the simplest ways to avoid paint drips and overspray in the first place.
Techniques For Preventing Paint Drips And Overspray
Good prep work and careful setup can keep most paint issues from ever showing up. Drips and overspray often start from things that could’ve been handled early on. Getting the equipment ready and knowing when and where to paint makes a big difference.
Start by setting up the sprayer right. Adjust the nozzle based on the line width you need, and tighten all fittings to avoid pressure leaks. Always test the spray on a scrap surface before starting the job. A quick test run helps catch flow problems, odd patterns, or clogged tips.
The weather also matters more than people think. Dry days with little wind are best for pavement marking. Wind can carry paint into unwanted areas, and too much heat or cold can make the paint flow wrong or dry unevenly. Planning to paint early in the morning or later in the afternoon often helps as the temperatures are more stable and surfaces less hot.
Operator training can’t be skipped. Spray height, grip, and pace all affect how the paint lands. Even small habits like pausing near edges or holding the sprayer too high can leave behind light mist edges or heavy blotches.
A quick summary of reliable techniques:
– Line up the machine before starting to reduce curves or second passes
– Keep a steady hand and even walking speed
– Hold the sprayer nozzle at a fixed angle and distance from the ground
– Start and stop the paint flow while the machine is in motion to avoid build-up
– Avoid painting on overly hot pavement, which can cause bubbling
Even experienced crews get careless sometimes. One parking lot job went sideways when a senior operator skipped the test spray and went straight to the lot. Turns out, the nozzle was slightly cracked, causing a fine mist to edge every line. That small oversight cost a repaint and hours of cleanup. Small checks and smart habits help avoid big fixes later.
Best Practices For Clean, Sharp Application
Whether you’re working on streets, curbs, or large parking areas, getting the surface ready is one of the first and most skipped steps and one of the most important. Paint doesn’t stick right to dust, grease, or cracks. It needs a clean, dry landing.
Before painting:
– Remove dust and loose debris using a blower or broom
– Wash off oil or buildup with a degreaser
– Fill in major cracks or seal joints that might bleed through
– Make sure the ground is fully dry before applying paint
Then it’s all about steady application. Keep the machine on a consistent path and speed. Try to avoid jerky stops or starts. If you’re using handheld tools near curbs or corners, use paper or shields to block overspray. Don’t overload the surface. Multiple light passes look better and hold longer than one heavy blast.
Once painted, check your lines before cleaning up. Look from different angles. Some flaws show up better from the side or under streetlights. If a line looks thin or patchy, fix it while the paint is still fresh. Waiting until later can make the fix stand out even more.
Quality checks should include:
– Line thickness and edges
– Uniform color and paint build
– Even spacing and alignment
– Signs of splatter outside the line
Redoing a section later is always tougher than fixing it on-site. Taking a few minutes to walk the finished area before calling it done helps catch things early while changes are still easy to make.
Keeping Line Marking Projects Clean And Professional
A well-done line marking job keeps drivers on track, makes parking lots easier to use, and just looks more put together. Clean lines act as visual cues. If there’s a blur or uneven patch somewhere, it pulls the eye and not in a good way.
Keeping lines sharp doesn’t happen by accident. It takes well-maintained tools, practice, and attention to the surface and surroundings. Whether it’s prepping the ground, waiting for the right weather window, or double-checking the output, those small details work together to keep lines looking smooth and lasting longer.
Paint drips and overspray are common, but they don’t have to be expected. With proper pavement marking equipment, clean setup, and simple habits, those patterns can stay clear and accurate, with no extra mess or surprises. The result is a finished project that you won’t have to come back to fix and that people using the space can trust.
Elevate the precision of your line marking projects with reliable pavement marking equipment from Hyperformance Traffic Safety Supplies. Whether you’re working on roads or commercial parking lots, choosing the right tools ensures clean, professional markings every time. Our equipment helps you avoid common issues like drips and overspray, delivering sharp, durable results that stand the test of time. Invest in quality tools today and experience the difference in every line.