Safety barriers play a big role in keeping roads safe and organized. Whether it’s along highways, around construction areas, or separating pedestrian zones from traffic, these structures help control flow and protect both drivers and workers. But like anything placed in high-traffic environments, they can take a hit. Everything from vehicle crashes to severe weather can damage them. When that happens, it’s not just about repairing a physical object—it becomes a matter of restoring order and reducing the risk of additional accidents.
If you’ve ever driven past a bent or broken barrier, you’ve likely wondered how that gets fixed. It’s not just a matter of looks. Damaged barriers lower a road’s safety and can confuse drivers. Knowing what to do right after a barrier gets damaged can help prevent more accidents and keep traffic moving steady and safe. Here’s a closer look at some of the first steps that matter most.
Immediate Steps To Take When Safety Barriers Get Damaged
When a safety barrier gets damaged, the first move needs to keep everyone around the area safe. That includes both drivers and pedestrians, along with anyone working nearby, like construction crews or safety teams.
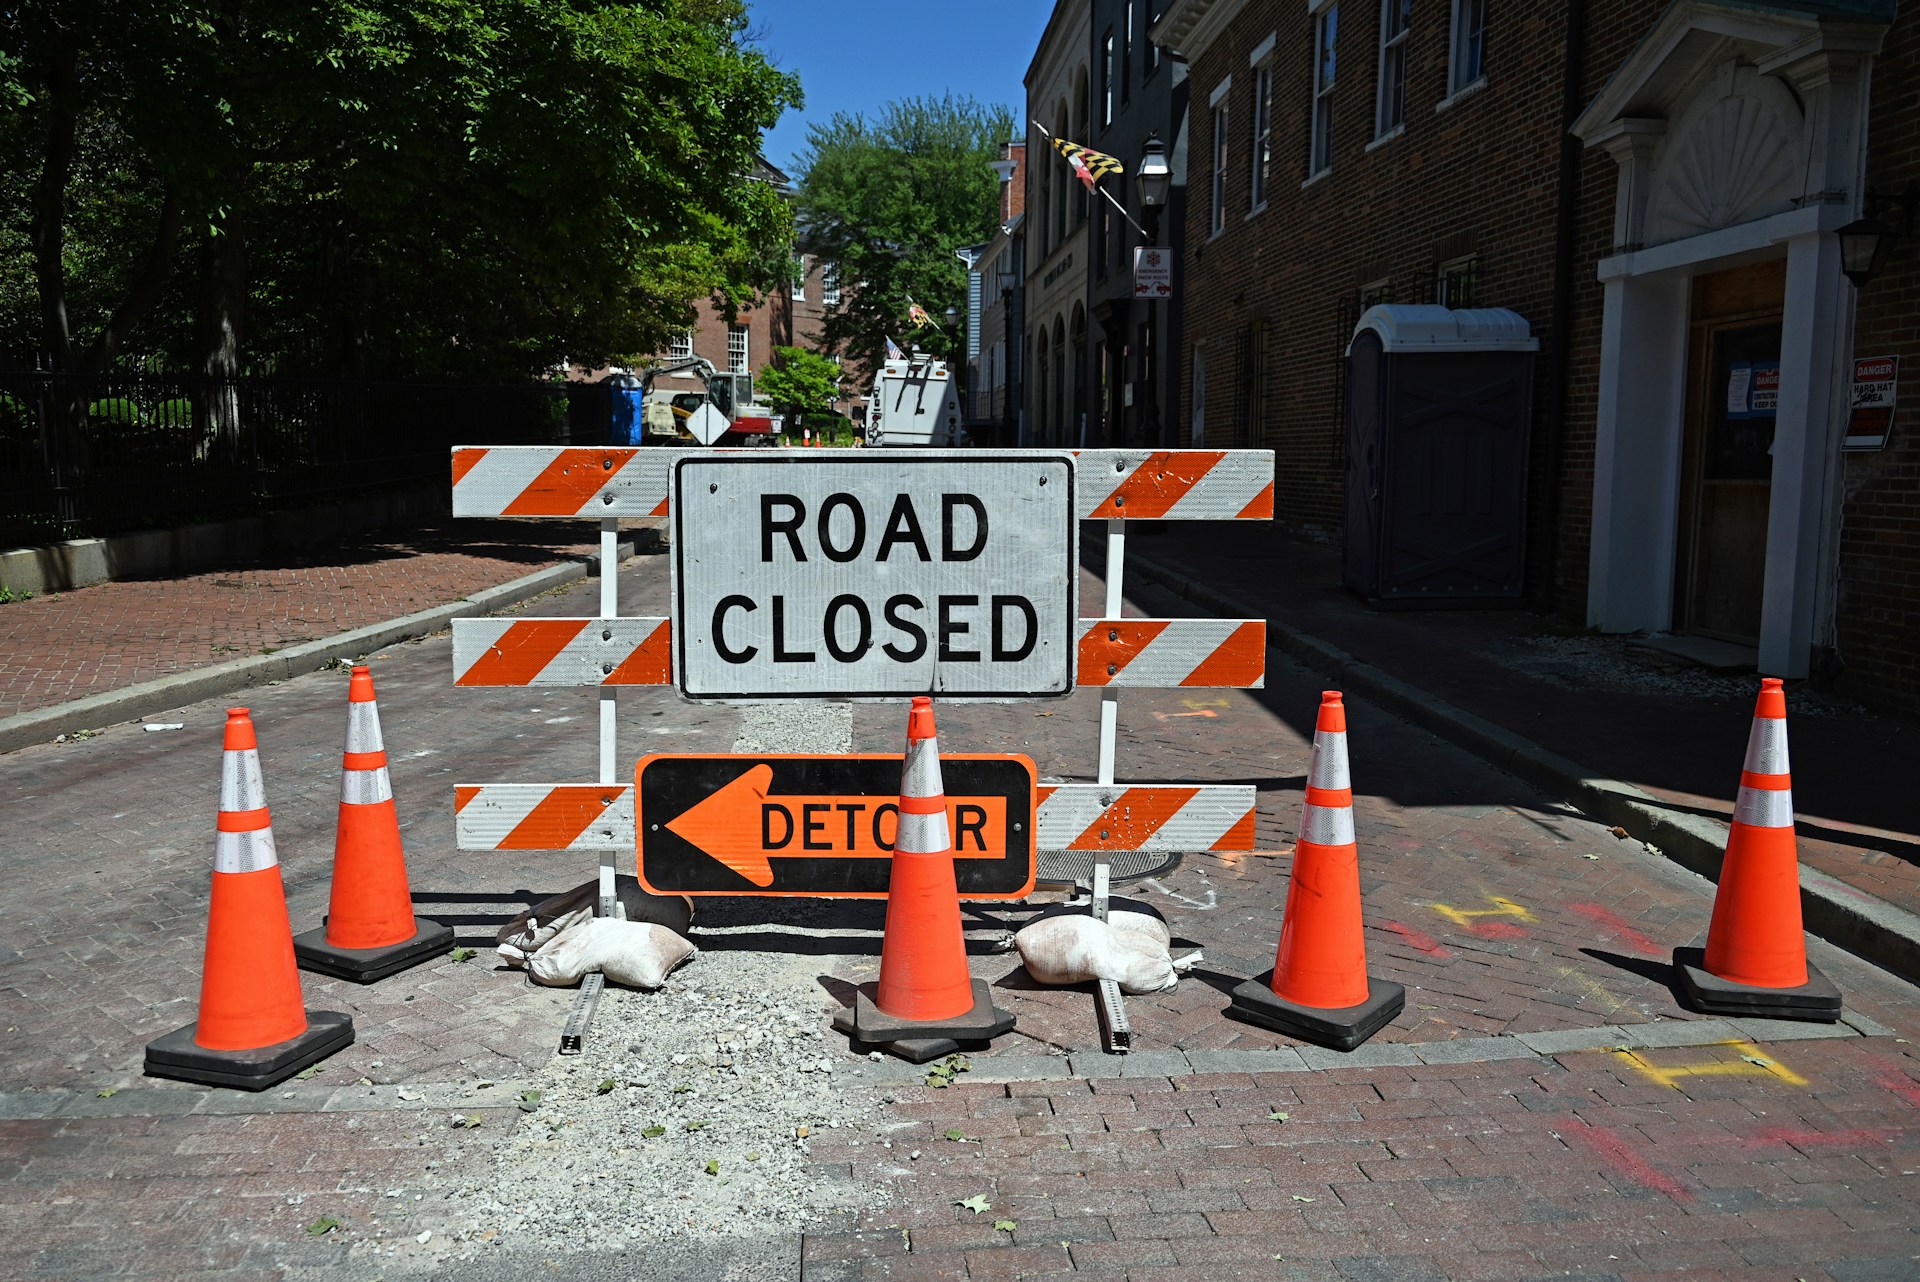
Start by securing the area. A damaged barrier leaves gaps that can lead to even more trouble if not managed quickly. Use cones, temporary barriers, or warning signs to reroute traffic or keep things in check while a plan is made for longer-term repairs.
Here are some simple steps to follow right away:
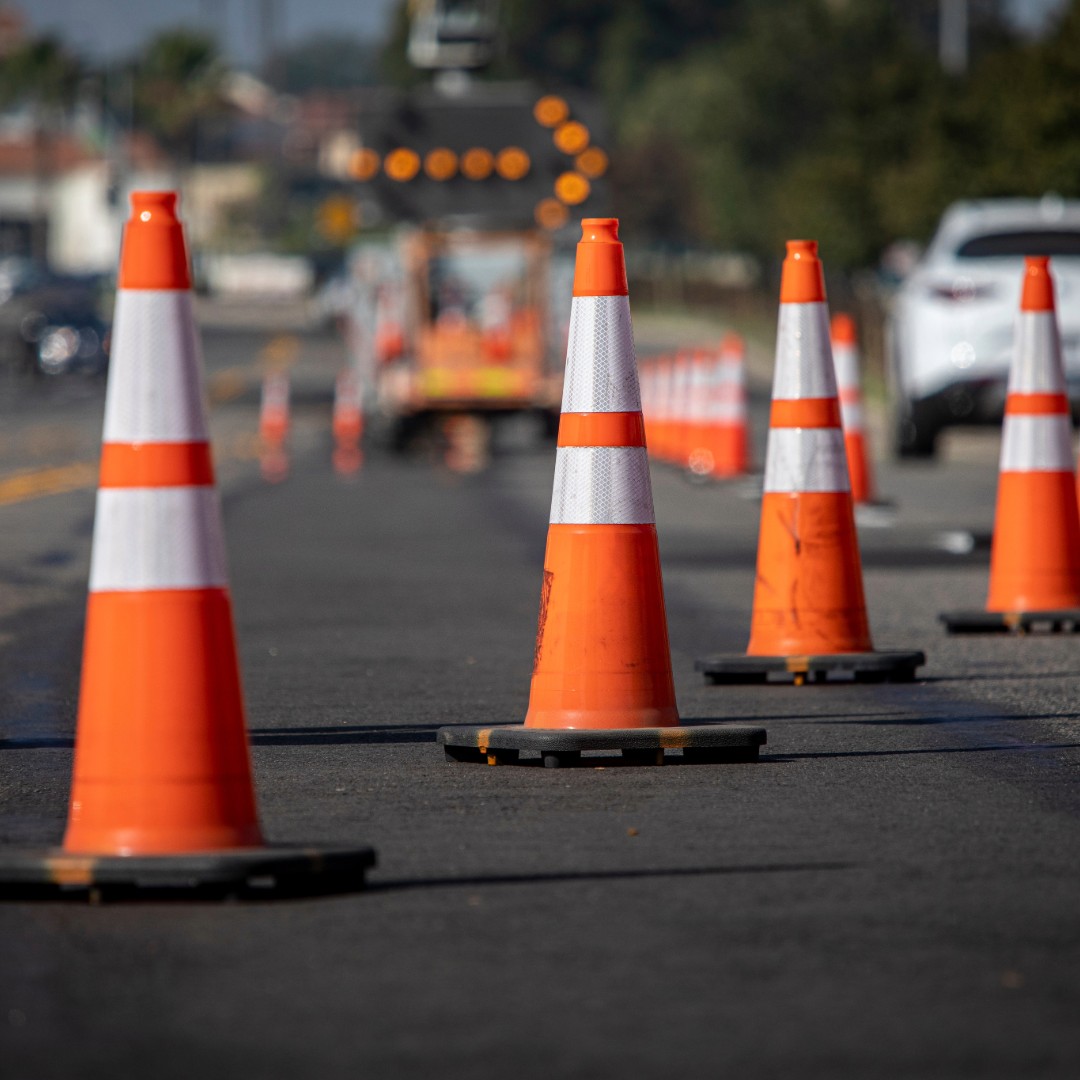
– Block off or redirect traffic with clear signs and visibility tools like cones or flares
– Alert the necessary safety personnel or maintenance teams
– Quickly inspect the scene from a safe distance to get a general idea of what was affected
– Place temporary barriers or barriers that are easily installed until a repair crew can arrive
– Keep bystanders or unnecessary vehicles away from the impact zone
It’s easy to overlook how much risk comes from leaving an open or damaged spot unmarked. Even something as simple as a missing bolt or a bent panel can cause confusion or give drivers mixed signals. Acting fast doesn’t just protect the public—it also gives repair teams a better foundation to work on.
Assessing The Damage
Once the area has been made safe and traffic is under control, it’s time to look closely at what actually happened. A clear inspection helps figure out how bad the damage is, if the barrier can be fixed, and what kind of tools or parts are going to be needed.
Here’s what you want to check during an inspection:
– Are there breakages or cracks in the structure?
– Did any sections get dislodged from their base or shifted out of alignment?
– Is the barrier still visible from a distance (especially at night)?
– Does the damaged area affect traffic flow or create a hazard nearby?
– Are any wires, anchor points, or bolts missing or severely worn out?
Photos help here too. If you’re documenting the issue for a repair order or insurance claim, make sure your photos show the whole structure as well as any zoomed-in shots of the broken parts. Labeling the photos or keeping a checklist as you go can speed things up later.
Not everything will be obvious at first glance. For example, a barrier might look okay from the outside but be loose at the base. That’s just one reason why a good inspection matters. Repair crews can’t solve what they don’t know. A good record helps make sure the right fix goes in the first time—less delay, fewer costs, and a safer setup by the end.
Repair Or Replacement Options
Once you’ve got a clear idea of where the damage is and how serious it looks, the next step is deciding whether the barrier should be repaired or replaced. That choice depends on a few things like the type of barrier, how much damage it took, and how much time or money it might cost to fix.
Small dents or surface marks are usually handled with quick repairs. These might involve replacing a panel, tightening bolts, or securing loose parts. More serious issues—like a barrier that’s been twisted out of shape or one that’s barely holding together—might need full replacement. Keeping the area safe for drivers and workers should be the top focus, even if repair seems cheaper at first. A poor fix won’t hold up next time.
Here are a few repair options often used:
– Replacing damaged rails or sections using original parts
– Re-fastening loose joints or anchor points
– Restoring reflective surfaces or painting over scrape marks
– Using reinforced braces or mounts to realign and support sections
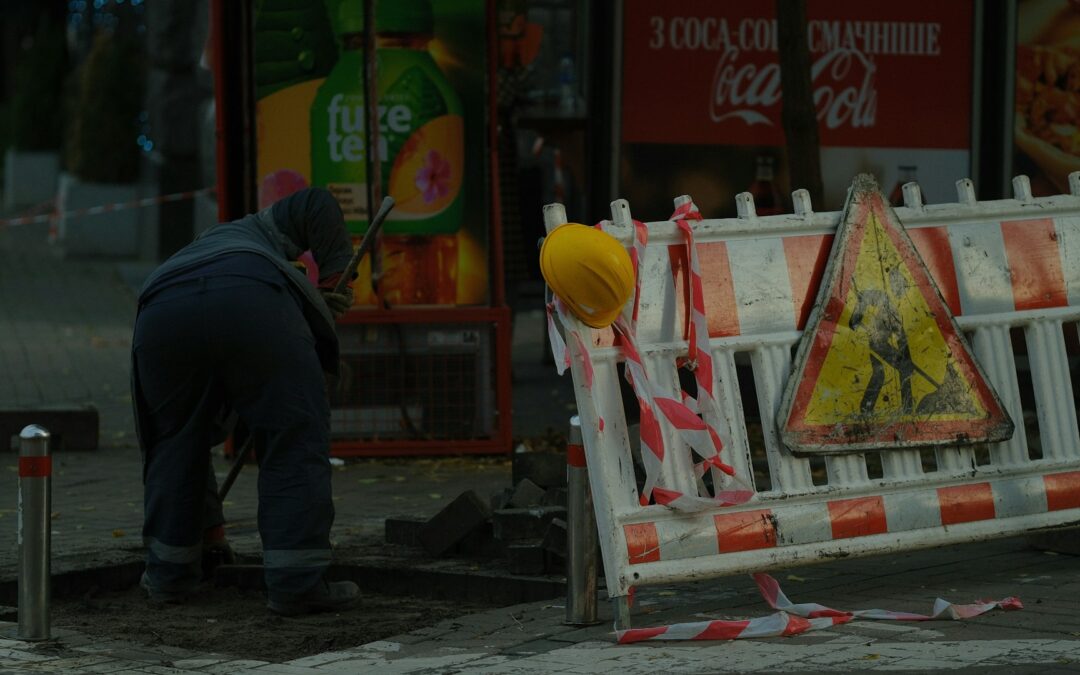
One crew working near an exit ramp found that a stretch of barrier had been hit clean off its support posts during an overnight accident. Half the posts were cracked, and several fasteners were stripped out. Rather than patching things up, they chose to replace the damaged stretch completely. It took a little longer but gave them a stronger system that held up better during winter snowplow season.
As you think about long-term safety, consider the benefit of choosing tougher barrier materials when replacing anything. Heavier-duty plastic or galvanized metals tend to last longer, handle more impact, and lower your chances of facing another sudden failure. It’s one of those things that pays off over time, especially near high-traffic spots or busy work zones.
Preventative Measures To Avoid Future Damage
No one can stop every accident, but there are smart ways to limit how much damage happens to safety barriers. Choosing the right barrier for the right place helps keep failures from becoming a pattern.
Solid planning means thinking ahead. Here are a few ways to prevent frequent repairs:
- Install crash cushions in front of high-impact spots like off-ramps or medians
- Run routine inspections and catch small problems before they grow
- Train field teams to spot early signs of wear, like worn base plates or hairline cracks
- Use barriers rated for the speed and type of traffic nearby
- Add reflective strips and lighting near sharp turns or busy zones to help visibility
Some sites also use fencing or tapered approaches to send vehicles away from sensitive areas. The better you guide traffic, the less likely you are to end up with direct hits. Plus, weather takes its own toll—snow, standing water, and heat all wear on materials. That’s why scheduled upkeep matters just as much after the barrier goes in as it did when installing it.
Small additions like chevrons, hazard signs, or even a visible buffer zone between lanes and the barrier can go a long way in preventing contact. It’s less about stopping damage forever and more about lowering risk where it usually strikes. A smarter setup upfront often means fewer surprises later.
Ensuring Long-Term Road Safety
A working safety barrier doesn’t just protect people during accidents. It also shapes how traffic moves, how safe a road feels, and how clearly drivers can tell where to go. Every cracked post or out-of-line panel chips away at all of that.
Keeping safety barriers functional means setting up reliable inspection schedules, responding fast when damage happens, and using the right equipment during installs or repairs. The goal is to build and maintain road systems where accidents are handled quickly, clearly, and with as little confusion as possible.
When the right tools and steps are in place, and those fixes happen with care, the road becomes a safer space for everyone. Good traffic safety equipment helps hold that line—it keeps high-traffic areas running smoothly, protects workers doing repairs, and gives drivers the visual cues they rely on to move safely through unfamiliar or shifting areas.
Enhance road safety and efficiency with superior traffic safety equipment from Hyperformance Traffic Safety Supplies. Our durable products are designed to withstand tough conditions and ensure your safety barriers remain effective. By investing in high-quality solutions, you’ll be better prepared to manage incidents quickly and keep traffic flowing smoothly. Contact us today to discover how we can support your road safety initiatives.